Tying the Golden Doodle Jig Streamer
I wanted to write up a quick post about tying one of my own concoctions that I call the Golden Doodle.
I came up with this idea a couple of years ago but in the last year and a half I’ve really refined it and come up with a solid recipe that has put literally hundreds of trout (and other species) in my net. I fish this almost exclusively on a mono rig/tightline setup but it can work very well just as a stripped streamer too.
I’ve had 30-fish days just stripping this fly on a sink tip line. However, I’ve had 50-fish days jigging this on a euro rod so that is what this particular recipe is geared towards.

The Materials needed are pictured above and are listed as such:
- Hook: Fulling Mill FM51 30 (jig force long) Size 10
- Weight: lead free wrap .020
- Thread: Veevus 8/0 red
- Bead: 4.6 tungsten bead (silver)
- Tail: ginger marabou
- Body: gold Ice Dub
- Wing: Hareline Polar Reflector Chenille olive brown
- Resin: Solorez Bone Dry

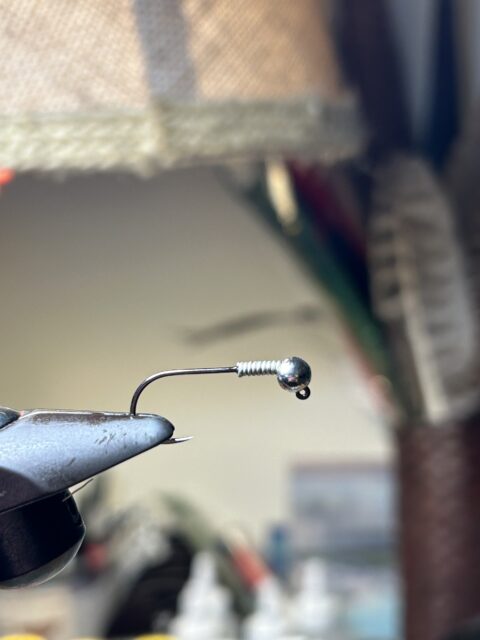
Place the 4.6 silver tungsten bead on the hook and wrap 8-10 turns of lead free wire around the shank. I prefer a silver bead personally because I feel it adds a contrast to the rest of the fly that the fish seem to respond to. Helicopter the wire on both ends for a clean break off and then push the wire as much as you can under the tungsten bead.
I like to then coat the wire wraps with a thin layer of Solorez Bone Dry. I find this helps to keep it from sliding and also makes it easier to wrap the thread around as well.
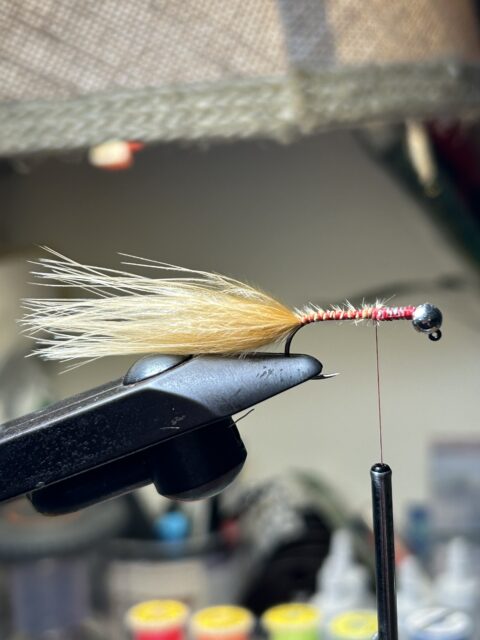
Wrap the thread around the shank covering most of the hook from front to back, and then tie in a ginger marabou feather measuring about twice the length of the shank. This is a larger jig streamer and the extra long marabou tail is crucial to getting the right proportions of each material as well as the proper movement when jigged up and down.

Using a dubbing loop spinner, make a dubbing loop and put a decent pinch of gold ice dub into the loop and spin it. Wrap the dubbing loop up the shank while preening the material back with your fingers as you wrap it forward. You’ll want to wrap the dubbing up to within a centimeter or so away from the bead.

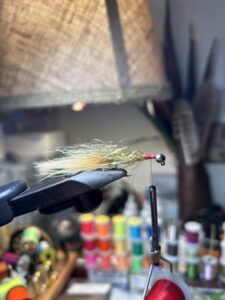
Next, cut a strip of the olive brown reflector chenille and tie it in at the tip. Take three to four wraps forward, preening the fibers backwards as you palmer the material forward and secure it with your thread just behind the bead.
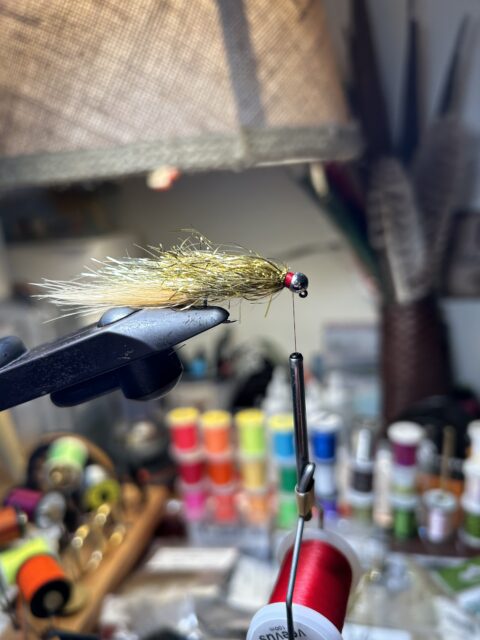
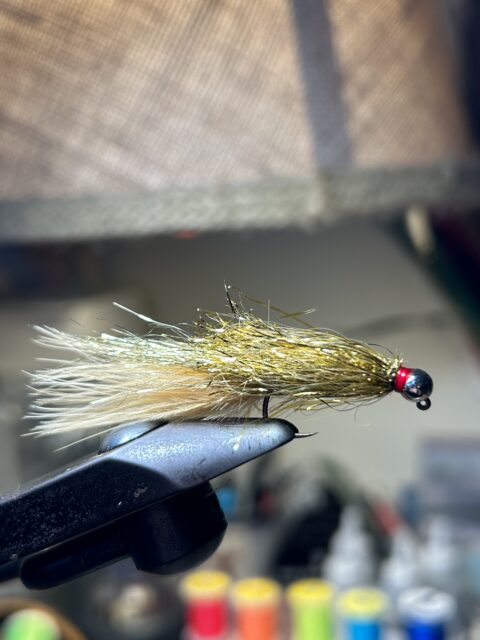
Use the thread to build up an even collar behind the bead. I personally like to make the red band collar quite pronounced as I feel this is a trigger point for aggressive fish. Whip finish and cut the thread. Coat the thread evenly all around the shank with a coat of Solorez Bone Dry or your choice of head cement. Zap the resin with a UV light and you’re done!
This is an absolutely killer jig streamer that is easy to tie and works well on trout year round. Tie some up and give a try! Below is a video of me fishing this pattern and having a successful day on the water. Let me know if it works for you!
Reminds me of the Deadly Empie Shiner – had a ton of success on the jig version of that this year. Thanks for sharing!
Yeah it is definitely similar!
Thanks for sharing the pattern. Guess I will add to my material collection this winter. LOL
Maybe you can expand on how you fish streamer jigs on a tightline? Special leader? Deaddrift? Jig? Distance away from tip?
Yeah I’d be happy to! I usually fish these with an active jig motion throughout a downstream drift. I do a motion very similar to how Lance Egan teaches when he demonstrates jig streamers. I don’t use any different leader than I do when fishing nymphs, which is why I love fishing these so much. It’s so easy to euro nymph, and then just tie on a streamer and catch fish. My current leader setup is this:
Amnesia 6lb running line
Rio 3x Indicator Mono
Tippet Ring
7 feet of 6x Fluorocarbon
That’s it!